
02 Content
This article is based on Vojtech Mašek’s talk “Hidden gems in Angular”, recorded at ngPoland 2025.
Angular has shipped a number of powerful features between versions 16 and 20 that are not fresh news anymore, yet surprisingly few people use them. They are not intentionally hidden; they are right there in the docs, just underused. This article walks through these “hidden gems”: small things that make the difference, each one easy to understand and adopt today. All snippets lean heavily on type safety, because type-safe TypeScript is worth it.
<ng-content> fallback
ng-content has existed for a long time, but fallback (default) content is a relatively recent addition and easy to miss. If nobody ever provides content for a slot, the fallback is rendered instead:
<div class="card">
  <h1>
    <!-- use default title if not provided 👇 -->
    <ng-content select=".title">Default title</ng-content>
  </h1>
  <p>
    <ng-content select=".content"></ng-content>
  </p>
</div>
If no .title is projected, “Default title” appears automatically. Simple, and worth using.
Cast pipe: type safety in templates
This pipe does literally nothing at runtime: it only casts the input to a given type:
({ name: 'cast' })
export class CastPipe implements PipeTransform {
transform<T>(input: unknown, _: T | undefined): T {
return input as T;
}
}
That is not much on its own. It gets interesting once you use it in templates the way you would use TypeScript’s as keyword. First, expose the types you want to cast to in your component:
({})
export class MyComponent {
readonly Product!: Product;
readonly Advertisement!: Advertisement;
readonly Category!: Category;
}
Then, in the template:
@switch (item.__typename) {
  @case ('Product') {
    <my-product [product]="item | cast: Product" />
  }
  @case ('Advertisement') {
    <my-advertisement [advert]="item | cast: Advertisement" />
  }
  @case ('Category') {
    <my-category-preview [category]="item | cast: Category" />
  }
}
Instead of reaching for $any() or living with untyped templates, you get proper casting. If you use GraphQL you will recognize the __typename discriminator immediately. This way you can be sure the type is correct, and so can the components receiving it.
Routing
Everyone has a route configuration in their project, and it usually carries a lot of boilerplate. The classic module-based version looks like this:
({
imports: [ RouterModule.forChild([
{
path: 'products',
loadComponent: () =>
import('./products.component')
.then(c => c.ProductsComponent),
},
{
path: 'product/:id',
loadChildren: () =>
import('./product.module')
.then(m => m.ProductModule),
}
])],
// ... rest of module
})
export class ProductsModule {}
export const APP_ROUTES: Routes = [
{
path: 'home',
loadComponent: () =>
import('./home/home.component')
.then(c => c.HomeComponent),
},
{
path: 'platform',
loadChildren: () => import('./products.module')
.then(m => m.ProductsModule),
}
];
({
imports: [
// ... App module imports
RouterModule.forRoot(APP_ROUTES),
],
})
export class AppModule {}
Standalone default export routing
One small keyword changes everything: default on the exported component.
({
selector: 'app-hello',
template: `...`
})
export default class MyComponent {}
export const ROUTES: Routes = [
  {
    path: 'lazy-hello',
    loadComponent: () => import('./app-hello')
  }
];
Because the router can rely on the default export, loadComponent becomes just import(...). No more .then(m => m.Something) boilerplate, which is meaningless noise at this point. There is another nice side effect: only one default export can exist per file, so it nudges you towards one component per file.
With standalone bootstrapping, the whole routing setup becomes minimal:
bootstrapApplication(
  AppComponent,
  { providers: [ provideRouter(APP_ROUTES) ] }
);
loadChildren follows the same rule: a routes file exports its routes as the default, and the import stays bare.
const PRODUCTS_ROUTES: Routes = [
  {
    path: 'products',
    loadComponent: () => import('./products.component'),
  },
  {
    path: 'product/:id',
    loadComponent: () => import('./product.component'),
  },
];

export default PRODUCTS_ROUTES;
export const APP_ROUTES: Routes = [
  {
    path: 'home',
    loadComponent: () => import('./home/home.component'),
  },
  {
    path: 'platform',
    loadChildren: () => import('./products.routing'),
  },
];
Dynamic redirectTo
Did you know redirectTo can be a function, and that since Angular 20 it can even return an observable or a promise? Not many people do.
export const APP_ROUTES: Routes = [
  {
    path: '',
    pathMatch: 'full',
    redirectTo: () => {
      return inject(FeatureFlagService).getDefaultPage$();
    },
  },
  {
    path: 'a',
    loadComponent: () => import('./a-page/a-page.component'),
  },
  {
    path: 'b',
    loadComponent: () => import('./b-page/b-page.component'),
  },
];
With this syntax A/B testing on routes becomes easy: load a feature flag from a service or your backend and route users wherever you want, with no extra plumbing.
Hybrid rendering
Thanks to the router, you can use a whole set of hybrid rendering features. First, a quick refresher on the rendering types Angular offers:
Client-side rendering is what most single-page applications do; that’s what SPAs were created for. Server-side rendering is where people joke that we are going back to PHP. We are not, and it is great to do on the server what belongs there, especially when you can cache it or hide functionality from the user. Static generation can live in your CI or local build, and it is quite powerful: in large production projects you soon notice that not everything changes that often and not everything needs to be rendered on demand. Rendering everything on demand can cost hundreds or thousands of dollars in server bills, so it’s worth thinking about.
Reference: angular.dev/guide/hybrid-rendering
Route-level hybrid rendering
Once you provide the server-side configuration, you can do server routing. In Angular 19 this was a separate provideServerRouting() provider; it now lives inside provideServerRendering().
bootstrapApplication(
  AppComponent,
  {
    providers: [
      provideServerRendering(
        withRoutes(SERVER_ROUTES)
      ),
    ],
  },
);
Server routes look very similar to client routes (you write basically the same thing), but you can do more: you can define the render mode per route.
export const SERVER_ROUTES: ServerRoute[] = [
  {
    path: '', // default "/" route on the client (CSR)
    renderMode: RenderMode.Client,
  },
  {
    path: 'about-us', // static page => prerender it (SSG)
    renderMode: RenderMode.Prerender,
  },
  {
    path: 'dashboard', // needs user-specific data => SSR
    renderMode: RenderMode.Server,
  },
  {
    path: 'video/:id', // no benefit from SSR => render only on client (CSR)
    renderMode: RenderMode.Client,
  },
  {
    path: '**', // All other routes will be rendered on the server (SSR)
    renderMode: RenderMode.Server,
  },
];
The reasoning behind each choice:
Home page (
'') → Client. It’s personalized per visitor, from marketing campaigns to A/B variants, so there is little to cache. Render it on the client, because the client is paying for the compute.About us → Prerender. This page was written once: you did “export to HTML” in Figma and that’s it. There is no point rendering it dynamically every time. Prerendering means it’s built at compile time, placed into your assets, and loaded as static HTML very quickly. No additional costs.
Dashboard → Server. You might want to hide something, say charts that hit an expensive database query you only want to run once every few minutes. Do it on the server; you can cache there.
Video → Client. How would you even prerender a video? The only thing there would be the placeholder, so you specify client.
Everything else → Server. The wildcard is a default, not a rule: each new route gets whichever mode fits it, and that is where this approach starts to pay off in your architecture.
Prerendering dynamic path params
What about dynamic route IDs, like articles in your blog or products in your online store? You can hit the same CMS or backend, get all the IDs that exist, and generate all of those pages, e.g. once a day at midnight:
export const SERVER_ROUTES: ServerRoute[] = [
  {
    // prerender /product/1, /product/2 and /product/3 …
    path: 'product/:id',

    renderMode: RenderMode.Prerender,

    async getPrerenderParams() {
      const products = inject(ProductsService); // ['1', '2', '3', …]
      const ids = await products.getAllProductIds();

      return ids.map(id => ({ id })); // map to { id: string }[]
    }
  }
];
The result: fast, prerendered pages with all the benefits of server rendering, but the compute happens once, in CI during the prerendering phase. From that point it’s just static HTML. And if the user navigates anywhere that is not prerendered, it is still a fully dynamic SPA. It is hard to argue against this, especially if you’re building your own blog or you start selling sauna accessories on your small website.
Page status codes
Server routes are especially good when you need to return a proper status code for a not-found page. You can still reach the request and the response through the REQUEST and RESPONSE_INIT tokens from @angular/core, but for a static status code the route definition is far simpler.
export const SERVER_ROUTES: ServerRoute[] = [
  {
    path: 'page-not-found',
    renderMode: RenderMode.Server,
    status: 404,
  },
];
Neat, simple, and no hacks.
Input data transforms
Everyone uses inputs, and inputs have a lot of overlooked features. Input transform is one you should reach for every time you’re tempted to massage a value manually.
Value transform with signal inputs
This example matters because instead of [disabled]="true" you can write a bare disabled attribute and it still arrives as a boolean:
export class MyCheckboxComponent {
  disabled = input(false, {
    // supports <my-checkbox disabled /> as a shorthand
    transform:
      (value: boolean | string) =>
        typeof value === 'string' ? value === '' : value,
  });
}
Angular ships booleanAttribute for exactly this case, so in real code you write transform: booleanAttribute and drop the hand-rolled version. Its sibling numberAttribute does the same for numbers.
Value transform with the @Input decorator
Transforms also work with the old decorator-based inputs, so you can use them even if you haven’t migrated yet. Here a chart accepts a friendly string size and converts it to a number internally:
({})
export class MyChartComponent {
// supports `<my-chart size="xl" />`
({
required: true,
transform: (value: 'sm' | 'md' | 'xl') => {
switch (value) {
case 'sm':
return 200;
case 'md':
return 400;
case 'xl':
return 800;
}
}
})
size!: number;
}
Getting dynamic data into CSS
Now combine the transform with a host binding to a CSS variable, in pixels, and your CSS suddenly knows the size. This solves a problem you have probably faced: how to get dynamic data into CSS.
({})
export class MyChartComponent {
('style.--chart-height.px') // 👈
({
required: true,
transform: (value: 'sm' | 'md' | 'xl') => {
switch (value) {
case 'sm':
return 200;
case 'md':
return 400;
case 'xl':
return 800;
}
}
})
size!: number;
}
Can you do this with signals? Of course. Same thing, but instead of @HostBinding you use the host property in the component definition:
({
host: {
'[style.--chart-height.px]': 'size()', // 👈
},
})
export class MyChartComponent {
size = input.required({
transform: (value: 'sm' | 'md' | 'xl') => {
switch (value) {
case 'sm':
return 200;
case 'md':
return 400;
case 'xl':
return 800;
}
}
});
}
Route input binding
A single router feature unlocks a lot: withComponentInputBinding().
bootstrapApplication(
  AppComponent,
  {
    providers: [
      provideRouter(
        APP_ROUTES,
        withComponentInputBinding() // 👈
      )
    ]
  }
);
This starts binding component inputs to route parameters, query parameters, route data and resolver results. No more route.snapshot.paramMap.get(...): parameters are auto-bound to whatever input matches by name, and they update automatically on navigation. It pairs especially well with signal inputs:
({})
export default class ProductComponent {
// will be bound to the route's :id
id = input<string>();
// works the same with :productId
() productId!: string;
}
It works for query parameters too:
({})
export default class ProductsComponent {
// auto-binds to query param ?page=42
page = input('1');
}
And you can start combining it with transforms. Users expect pagination to start at page 1, not page 0, so give it a default. And since route params always arrive as strings, run them through numberAttribute:
({})
export default class ProductsComponent {
// ?page=4 transformed from string to number
page = input(1, { transform: numberAttribute });
}
Your page is correctly initialized to 1 and always a number.
Enforce types with a directive
A real-world case: Swiper (swiper.js) ships as a web component now, and you can use it easily in Angular, but the config you pass to <swiper-container> is untyped. Custom elements do not carry the input types Angular components do. The fix: a small directive that attaches itself via the selector, declares a required, typed input, and hands the value on to the element:
({
selector: 'swiper-container[config]'
})
export class SwiperDirective {
config = input.required<SwiperOptions>();
private readonly element =
inject<ElementRef<SwiperContainer>>(ElementRef).nativeElement;
constructor() {
effect(() => Object.assign(this.element, this.config()));
afterNextRender(() => this.element.initialize());
}
}
<swiper-container init="false" [config]="swiperOptions">
  <swiper-slide />
</swiper-container>
The same config that gets bound to the swiper container is now correctly type-checked. The forwarding is not optional: when a directive declares an input with the same name as a bound property, Angular hands the value to the directive and never sets it on the element. The element itself still needs CUSTOM_ELEMENTS_SCHEMA on the component that uses it: the directive types the input, it does not teach Angular the tag.
@defer
@defer is widely used, but the good places to use it are less obvious. First, why it exists at all: before @defer, lazily rendering a heavy component meant a whole procedure: lazy-loading the component, writing a wrapper, manually re-declaring and binding all the inputs and outputs (here with a third-party library):
({
template: `
<ng-container
*ngxComponentOutlet="component | async"
></ng-container>`
})
class MyLazyComponent {
component = import('./my-actual-component')
.then(m => m.MyActualComponent);
// copy & paste all inputs/outputs so they auto bind
() myInput;
() myOutput;
}
Not a great developer experience. Now you just write:
@defer (on viewport) {
  <my-actual-component/>
} @placeholder {
  <div class="my-actual-component-skeleton"></div>
}
The component loads only when the placeholder scrolls into view. Same result, a handful of lines. Note that on viewport needs that @placeholder block: it is the element the browser actually observes.
When should you defer? A simple rule
Whenever an @if condition depends on authentication, a role, or a feature flag (anything not every user sees), make it a @defer instead:
@defer (when isAdmin()) {
  <admin-tools-panel/>
}
Users who never pass the condition never download the code. One difference from @if: when is a trigger, not a binding. Once the condition turns true the block stays rendered, so if the panel must also disappear again, keep an @if inside the @defer.
Router view transitions
One line, and Angular automatically starts animating transitions between your routes:
bootstrapApplication(
  AppComponent,
  {
    providers: [
      provideRouter(
        APP_ROUTES,
        withViewTransitions() // 👈
      )
    ]
  }
);
With a small component definition and a few lines of CSS you can, for example, fade and rotate content on every navigation:
({
template: `...`,
styles: `
.emoji {
view-transition-name: rotate;
}
`,
})
export class EmojiSlider {
count = input.required({ transform: numberAttribute });
emoji = computed(() =>
this.emojis[this.count() % this.emojis.length]
);
emojis = ['🤔', /*...*/];
}
bootstrapApplication(AppComponent, {
providers: [
provideRouter(
[
{ path: '', pathMatch: 'full', redirectTo: '/0' },
{ path: ':count', component: EmojiSlider },
],
withViewTransitions(),
withComponentInputBinding()
),
],
});
@keyframes rotate-out {
  to {
    transform: rotate(90deg);
  }
}

@keyframes rotate-in {
  from {
    transform: rotate(-90deg);
  }
}

::view-transition-old(rotate),
::view-transition-new(rotate) {
  animation-duration: 200ms;
  animation-name:
    -ua-view-transition-fade-in, rotate-in;
}

::view-transition-old(rotate) {
  animation-name:
    -ua-view-transition-fade-out, rotate-out;
}
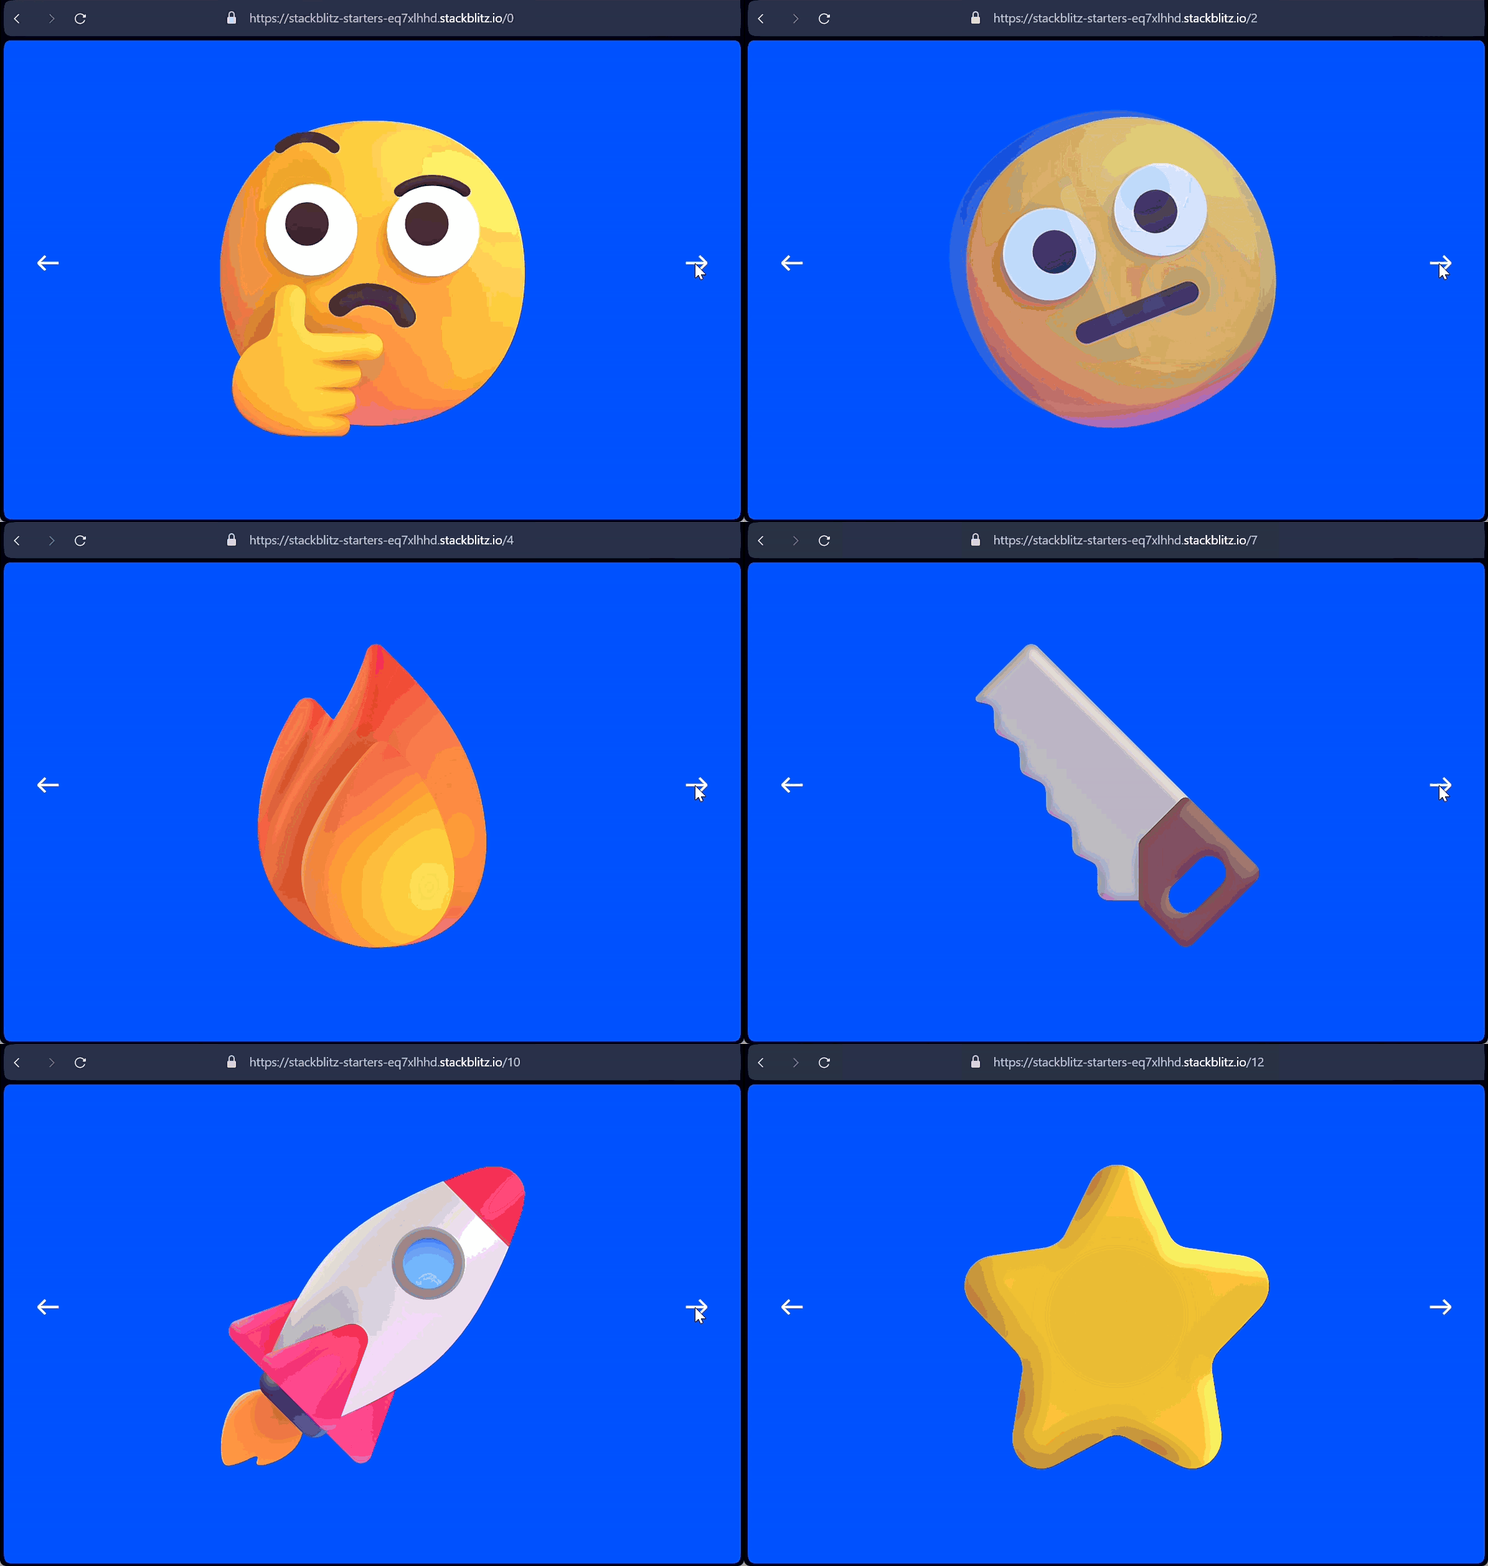
The result: emojis rotating and fading on every route navigation:
Migrations
The last gem is not an API at all: it is that you never have to adopt the other ones by hand. Angular ships an official schematic for nearly every feature in this article, and they are real codemods, not find-and-replace. They rewrite your sources in place, leave everything they do not understand alone, and print the spots they could not convert so you know exactly what is left for you. They are all catalogued on one page.
ng g @angular/core:standalone
ng g @angular/core:control-flow
ng g @angular/core:inject
ng g @angular/core:signal-input-migration
ng g @angular/core:output-migration
ng g @angular/core:signal-queries-migration
What those six commands buy you:
standaloneruns in three passes you pick from a prompt: convert every component, directive and pipe to standalone, delete the NgModules that are then left with nothing to declare, and move the app tobootstrapApplication- the setup the routing section above assumes you are on.control-flowrewrites every*ngIf,*ngForand*ngSwitchin your templates as@if,@forand@switch, and drops the imports they needed.injectmoves constructor parameter injection to theinject()function, for the sharper types and the generic support the decorator form cannot give you.signal-input-migration,output-migrationandsignal-queries-migrationtake@Input,@Outputand the decorator queries (@ViewChildand friends) toinput(),output()and the signal queries. Each one accepts a--path, so you can convert a single feature folder and ship it rather than opening a thousand-file pull request.
The reference page lists more that are worth a quiet afternoon: converting eagerly loaded routes to lazy ones, cleaning up unused imports, self-closing tags, NgClass and NgStyle to plain class and style bindings, RouterTestingModule in TestBed setups, and CommonModule to the individual directives and pipes it used to drag in.
Run them one at a time on a clean working tree, read the diff, commit. It is an afternoon instead of the multi-sprint refactor the same change costs by hand, and every Angular feature that lands next is designed for the far side of it.
Created on 7 September 2026.Last update on Monday, 7 September 2026, 9:30.
CTO of FlowUp, Google Developer Expert and software engineer with expertise in Angular, TypeScript, and agile and AI-assisted development. Leads teams to ship production-ready products and coaches them in agile, agentic software development, helping engineers make AI agents part of how they build and deliver. Well-versed in advanced front-end concepts such as performance, size optimization and server-side rendering.